
Barn is DONE!

We are done with the barn project and for our first DIY building I think we deserve a pat on the back.
Now we get to begin the even bigger project of the dome. But for now this post is a wrap up of the barn project.

We didn't drill the well or do the foundation walls but everything else was all us. Mr. Dometastic and I were chatting the other day about how many people ask us "How is the house going?" We then end up giving a long explanation while the questioning party either nods in silence or their eyes start to glaze over. There isn't really a simple answer why we aren't done. Or why we haven't even started the house yet. The process has been long and tedious. We end up giving some sort of half explanation about doing part of the work so we can get our loan to build the house. Read about financing an unconventional house HERE to understand why it is taking so long to start the house. They are always surprised that we were STILL working on the barn. We have determined that when you tell people you are building something they immediately assume that it means someone is building it for you. They usually have a hard time understanding you are the one swinging the hammer. It is a relief to finally say the barn, fencing and utilities are done! There was a lot of sweat and some blood shed to make it happen! Bring on the bank assessment so we can finalize our loan and start the house. The tentative date for closing on the loan is June 28th! We will begin the site work next week.

Here are the wrap up process photos of the barn. And don't miss our latest drone video showing where we are as of June 1st. Click HERE for a YouTube video.
Insulation going up in the tackroom.
Plywood walls going up in the tackroom.
Tack room is finished
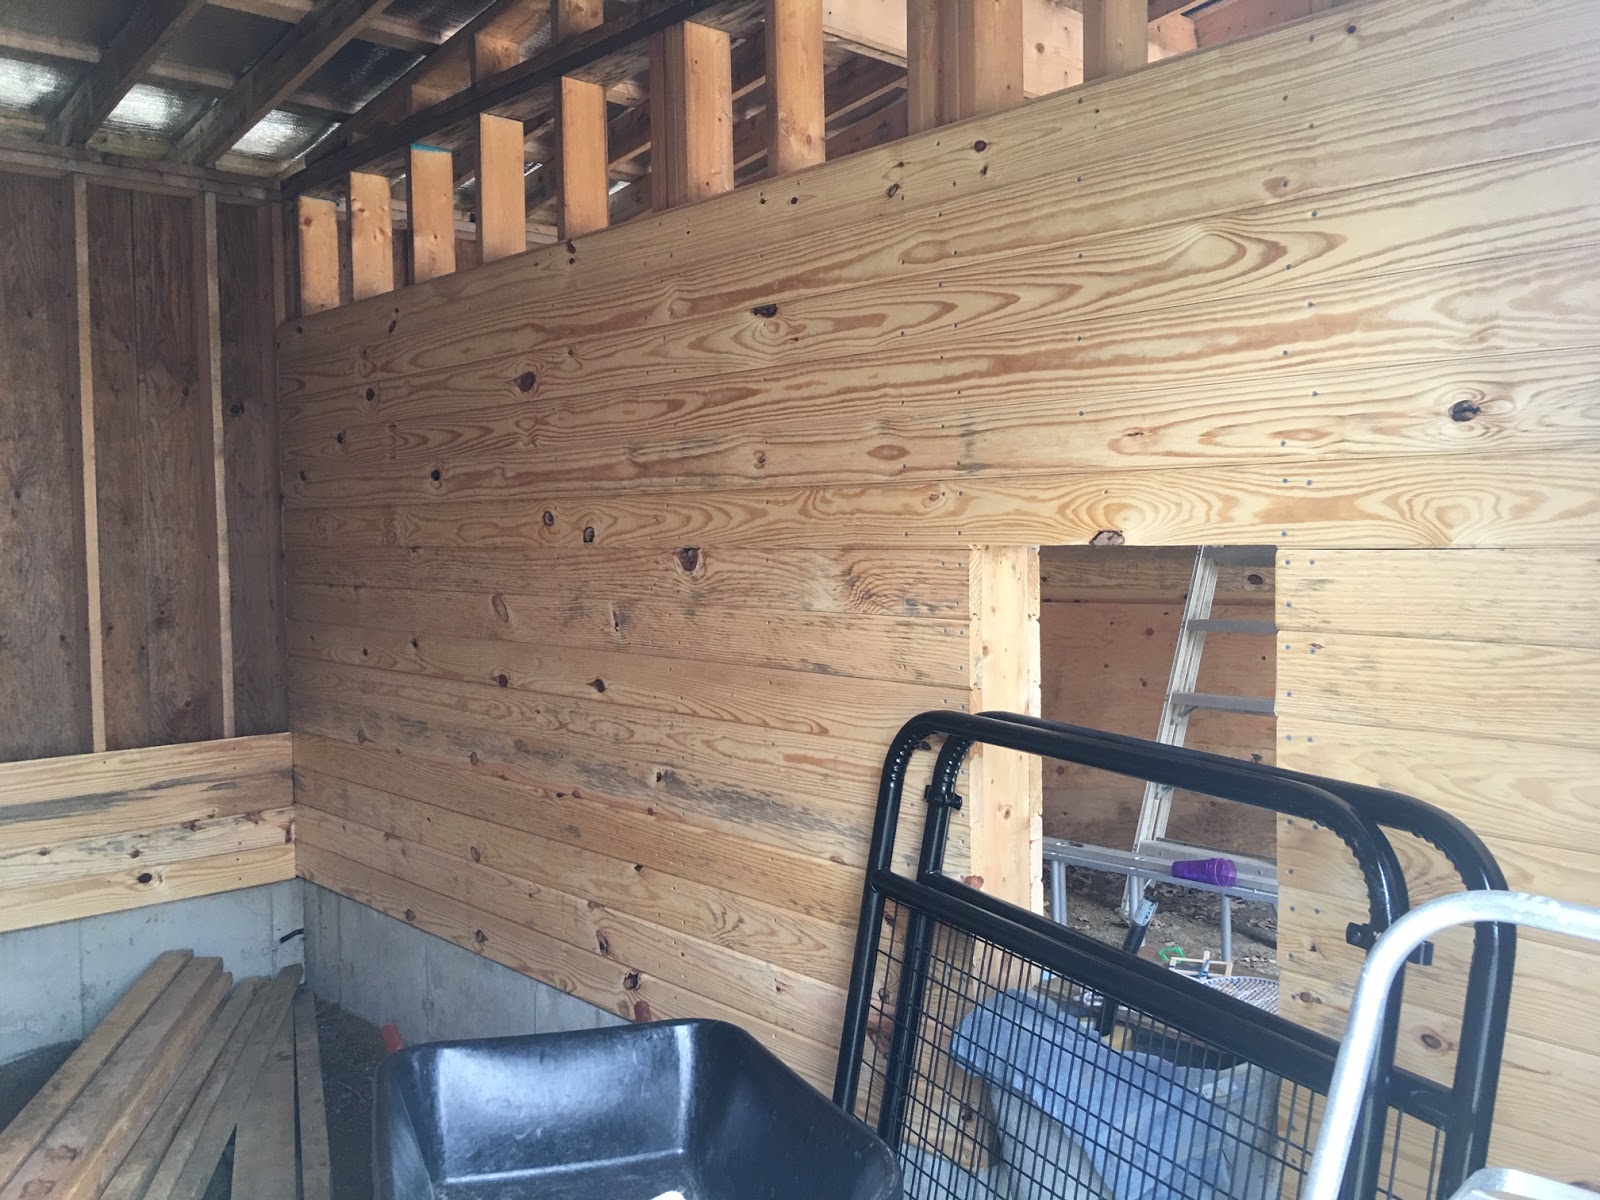
Tongue and groove stall walls go up.
Automatic waterer is installed as well as rubber floor mats in the stalls
 We rented an auger attachment for the skid steer and dug many post holes but of course forgot a few so we had to dig those by hand after we returned the auger.
The day after the auger rental we had to put in all the posts in the pouring rain
Fill added in front of the barn and after drilling more holes than I care to remember we strung up the fence lines.
Fencelines are done 
Gates are added and ready for the horses to move in on June 15th.


Comments

Popular posts from this blog

Construction Video and Geodesic vs. Monolithic Domes

While we wait as patiently as possible for spring to dig holes for our new perc tests my posts will be directed towards general dome related things. Most people I talk to know what a dome home is but are clueless about the different types of domes. This post is to help show the differences between geodesic and monolithic domes with a few pictures of each. The saying "a picture is worth a thousand words" is true and a video must be worth 100000 words. (Watch a video of a monolithic dome being constructed at the end of this post to really wrap your mind around the process.) Many people have asked me how a monolithic dome is different than a geodesic dome. The answer can be quite simple. A monolithic dome structure is all one piece and geodesic domes are made up of many pieces (triangles) connected together. Monolithic domes are sprayed concrete like some inground pools. Here are some photos of interior and exterior monolithic domes. Compare the above Mon

Radiant Heat and Drywall DONE!

  We are DONE with dry wall and everything is painted!!! It looks almost like a real house inside. I can top that news by saying WE HAVE HEAT!!! Lets take a moment to celebrate having a functioning heating system in a cold climate in the middle of winter! The marathon of drywall is done for now. We still have the master wing of the house to do after we move in but we would like to just pretend we are done for awhile. It was a long slow dusty process but it looks amazing. The flat walls are a cool white and the dome surface is a warm cream. All our color will come from materials not paint colors. We have plans for wood, metal and stone throughout the house. We are finally getting to install more lighting fixtures and finalize all the outlets and switches. To watch a five minute video walk through CLICK HERE . Greatroom floor outlet in the center of the room. We decided that since the room is 32' across it needed an outlet in the center where furniture would be. Kids bathroom sconces

Spider Tie System Stem Wall Forms Complete

We finished building the stem wall forms last weekend! Personally I think they look super cool and I will be a bit sad to deconstruct them after we pour them. So much work to build them only to take them apart again and then just bury the whole thing underground. The original plan was to pour the stem wall on Friday October 11th but our weather was once again not cooperating. We are got yet another rain storm fueled by a storm/hurricane that thankfully mostly missed us. Because of this storm we are now scheduled to pour it on Monday October 14th. This was quite the ambitious DIY project for us. I can understand why we couldn't even get a company to put in a bid. Part of me is amazed that we pulled it off...so far. The truth will be in how it holds up to the concrete. It took almost 3000 screws to put the plywood skin on the Spider Tie towers and we cut 120 sheets of plywood! We joked that we were the Dometastic saw mill. Watch some videos of the process. It is