The good news is we are 99% done back filling the foundation. Check out this video to take a quick walk around the interior of the foundation before we back filled it.

Since my last post we also decided to finish the curtain drain. We rented another small mini excavator for the job. At some point in the future we will install and connect gutters from the barn and a cistern for outdoor water use. For now we are just installing it because we need to put 4 feet of fill on top of where it runs near the foundation.


The above photo shows the 2 socked drain pipes on either side of the front of the house. We decided to put 2 flexible socked tube curtain drains in because the house does not have gutters. One next to the footer (per the plans) and one on top of the footer (our extra).

In the above photo you can see the connecting joint in the flexible tubing where we joined both curtain drains together on the right side of the house.

In the above photo you can see the join of the drains from the other side of the house. That other side also brings upper and lower curtain drains together prior to this joint. Now all are feeding into one exit pipe.

The above photo shows the joint from both sides of the house and where it transitions into the rigid drain pipe. The rigid stuff is more durable so if it gets driven on it will not be damaged.

Prior to back filling the trench we placed stone in some areas to get the pitch correct or support the pipe if it was off the bottom of the trench.


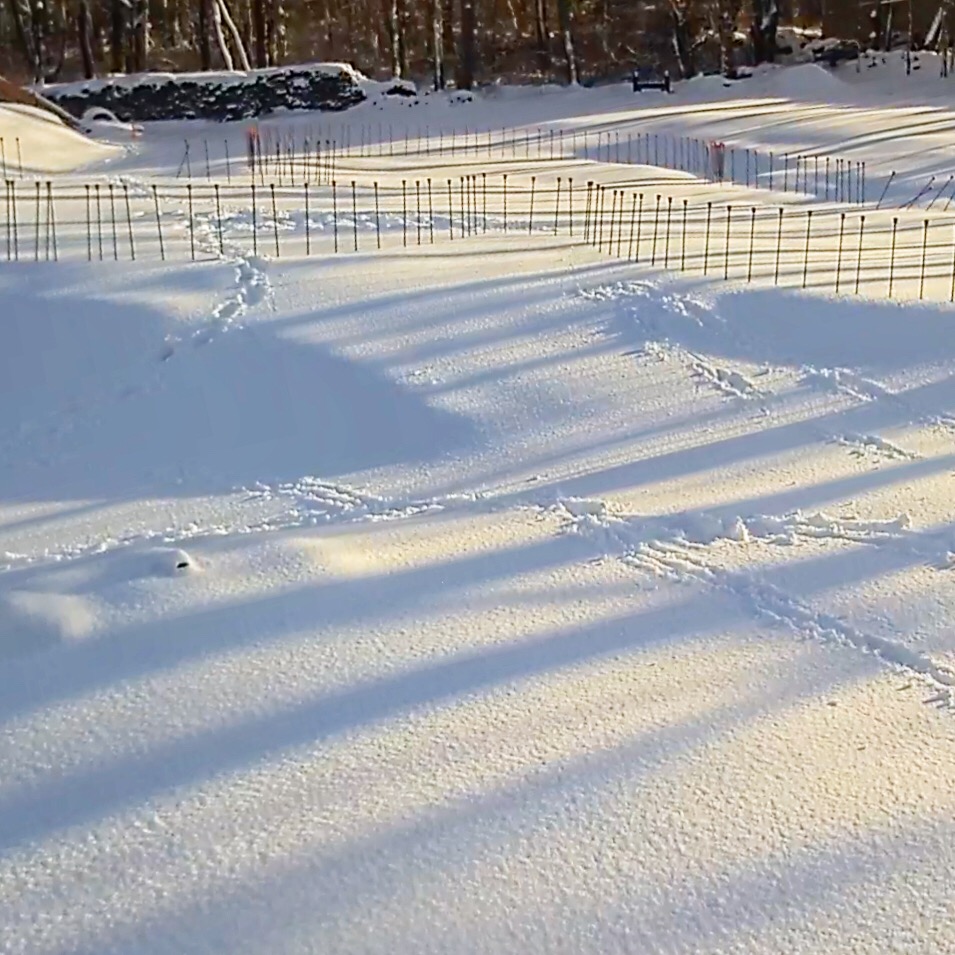
Our exit to "air" further out and down hill in the yard
It was a pretty quick and painless project to finish up. I don't have pictures but we did get it filled back in before bad weather. We wanted (and even started) to install the pipe that will go to the septic tank but aborted that plan for a number of reasons.
- Winter is here.... NOW!
- We have an approved septic plan PENDING the correction of the survey maps (a mistake was made and the length of the septic pipe was incorrectly marked on the submitted plan) This requires the surveyor and the civil engineer to come back out to remeasure, stake AND create new maps that have to be submitted to the health department.
- Even if we managed to get #2 done we still need to apply for a septic permit because the building department doesn't inspect the pipe once it is outside the foundation wall
- Even if we managed to get #2 and #3 done there would need to be another pressure test of the septic pipe done before back filling would be approved. This test requires water in the system for 24 hrs to test for leaks. This means above freezing temps during the test..... this is a no go in January in CT.
These 4 reasons mean we were biting off more than we could chew. It was also the source of some friction between Mr. Dometastic and I. We have been warned by more than one person that building a house will test our marriage. He was in full steam ahead mode and I was trying to pull the emergency brake.
 He really hates doing things over so back filling and then digging it back up again later was really rubbing him the wrong way. I was stuck on the fact that we were not all set paperwork wise with the town. Even if we rush the surveyor, it will take several weeks before we would get official approval to work on the septic. The short pipe still counts as part of the septic in the eyes of inspections. At that point in the winter it is too cold to do the pressure test. So if we try to follow procedure we definitely run into weather issues.
We went back and forth several times. Trench was dug, pipe was laid and then pipe was cut up, removed and trench filled back in. In the end we removed everything we did and just back filled the area against the foundation with small stone so it will be easy to dig up again. The red tape of permits and the official progression of things got in the way of what seemed logical. Mr. Dometastic had a hard time accepting and in the end it is like we never even worked on it. Except for all the pipe fittings, time and money we wasted. Shushhhhh... we are pretending it never happened. It will be less work if we follow the official rules even if we have to dig up something we already buried. The day of the first snow storm it was a bit of a relief to just give up and bury it in stone.

We went back and forth several times. Trench was dug, pipe was laid and then pipe was cut up, removed and trench filled back in. In the end we removed everything we did and just back filled the area against the foundation with small stone so it will be easy to dig up again. The red tape of permits and the official progression of things got in the way of what seemed logical. Mr. Dometastic had a hard time accepting and in the end it is like we never even worked on it. Except for all the pipe fittings, time and money we wasted. Shushhhhh... we are pretending it never happened. It will be less work if we follow the official rules even if we have to dig up something we already buried. The day of the first snow storm it was a bit of a relief to just give up and bury it in stone.
Comments
Post a Comment