We are waiting for the surveyor to schedule the work he needs to complete for the health department. We need maps and documents corrected before we can apply for a septic permit. In the mean time we continue to work on small projects when the weather cooperates. This spring has been colder and wetter than normal so mother nature has been very unhelpful. We continue to get snow flurries even though it is May when our daytime temps should be in the 70's not the 40's and 50's! Here is our snow from mid April.
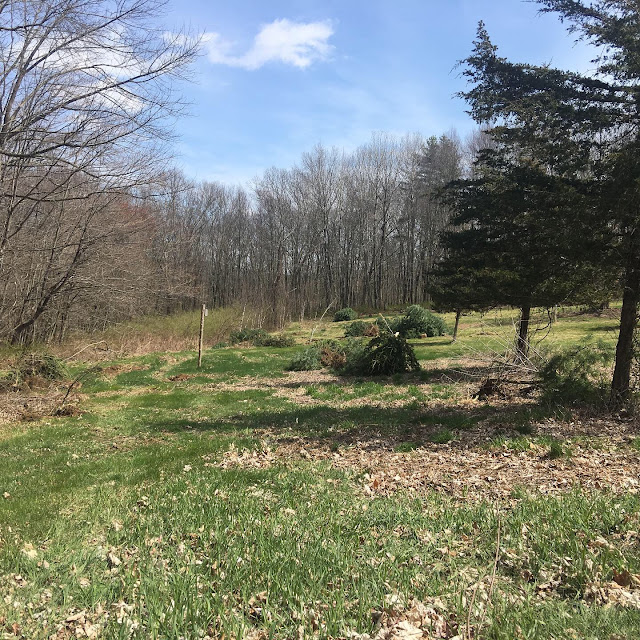
In the few nice days we get, we are trying to complete a bunch of back burner projects. One very back burner project we completed was field cleanup on an overgrown old cow pasture.
It is about 2 acres and when we bought the property it was about 8ft high full of invasive plants. Mostly full of horrible things with prickers even the deer wouldn't walk through. We have been brush hogging it 2 times a year to rein it in a bit but it was still not mowable by the lawn tractor until now. There were lots of debris from brush hogging and of course, rocks. Many hours were spent picking up sticks, pulling brush stumps, digging up rocks and removing small trees. This is an area that will be additional pasture and a permaculture orchard. We ended up making two large (20 ft diameter, 6 ft high) burn piles to be dealt with at a later date this summer.
Finally it can be mowed with the lawn mower!
We have stone walls surrounding the entire property. These were all created a very long time ago by farmers that just threw/stacked rocks on field edges. They were made because it was a practical way to deal with the unending supply of New England rocks. Their appearance was not a consideration so the walls often have large partially submerged stones near, but not on, the walls. These all need to be removed so we can get the mower right up next to the walls. This was another project that was very low on the importance list that has now gotten some attention. We are no where near done with this but we are off to a good start.
Part of what kicked off the yard work portion of our spring was the sudden ability to borrow a mini excavator for half a day. We only had it for a few hours but we used it to do as many jobs as we could think of. It was very handy to pull the big rocks and rip trees right out of the ground whole. In our opinion the best way to remove small trees is whole! Just push them over and rip them out of the ground. No stumps, no fuss and a pretty easy clean up. You just need to go back and fill all the holes.
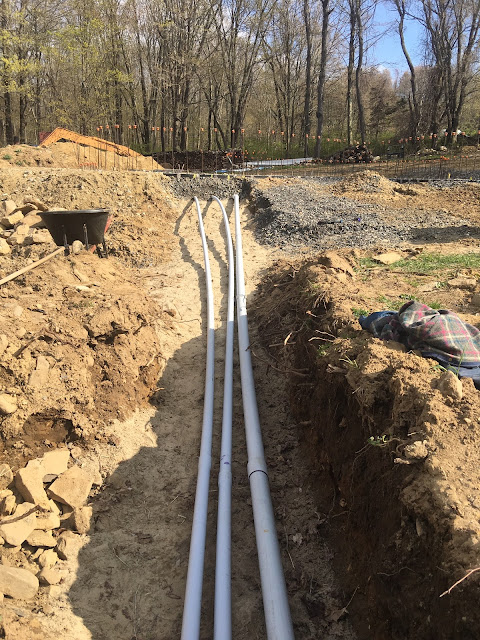
We also used it to dig 2 short trenches. One trench for drainage from the back side of the barn to the curtain drain we put in last fall and one for the electrical extension to the house.
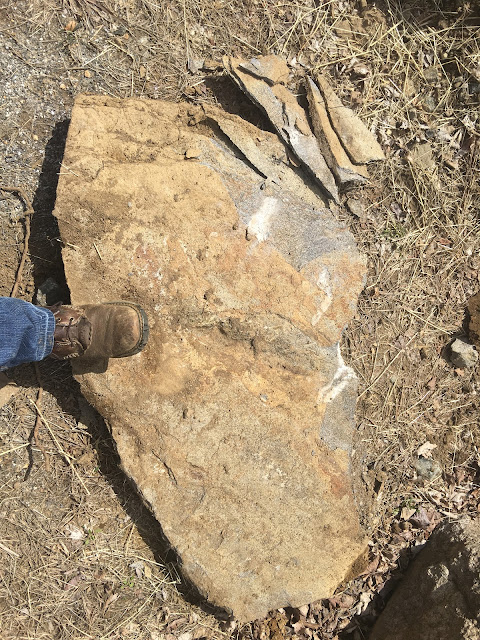
This short electrical trench yielded buried treasure in the form of large usable pieces of slate!
We dig up slate all the time but it is usually not usable pieces and if they are usable we typically don't get lots of big usable pieces all at once. It was super exciting to keep pulling more and more out of the ground!
This trench has 3 conduit that run from the barn to the house foundation. The 3 inch for power and the 2 inch ones are for data and propane.
We still need to add at least 6 inches of sand or small clean stone over the conduit before we can call for an inspection. We are waiting to bury anything until we meet with a propane tank installer later this week. We want to let him see what we have built and make sure they are ok with using it. Our goal is to get the area around the barn all set so be can do the final grading. Much of the area needs to be filled in a few feet and the the rest of the stone wall constructed. None of this can be done until we put in the underground tank.
Last but not least, we finally put a gutter on the back of the barn that feeds into the new drain. That sentence makes it sound like no big deal and in my blissful lack of gutter installation experience, I expected a quick easy project. The gutter sounds like the easiest project on the list but ended up being the hardest. First mistake was deciding to install it on a windy day. We have had so few days without rain that we saw sun and completely disregarded the wind part. The second mistake is expecting it to be able to hold its own weight without warping. It was a 40 foot long super floppy, very uncooperative gutter, determined to twist and ruin itself during the entire installation. Then we add the 30 mile an hour gusts and we have the gutter version of ....
This would have been a simple install if we had more than 2 ladders and 2 people. Oh and we should have picked a non windy day but we will ignore that now. We found out the hard way that a 40 ft gutter does not hold its shape when you lift it only from both ends. Our first attempt failed badly. Then we enlisted the help of our 13 yr old daughter to try to use a long 2x4 to push the floppy, twisty center part up as we climbed ladders on the ends. I wish we had this on video. Everything hinged on dexterity of a scrawny 13 yr old who has trouble just controlling the 2x4 by itself. I got to hand it to her, she did manage it but it was on the edge of total chaos the entire time. Third mistake was assuming we could attach the gutter without being able to see what we were doing.
Mr. Dometastic had to put in the first screw above his head, holding the gutter, not able to see what he was aiming for. Yeah.... that failed too. We decided to hold the gutter on the roof edge while we figured out a solution to avoid a repeat of the chaos needed to lift it from the ground. Battling the gusty wind seemed like a great trade off to a repeat of relying on the 13 yr olds dexterity. Luckily it didn't overpower us while we waited for Mr. Dometastic to create gutter holders out of scrap 2x4's. I wish I could say it was smooth after that point but it was still a gutter with a will of its own. Finally we did manage to wrangle the thing into submission where it hopefully NEVER has to be touched again!
Note to self. Any future gutter work needs 1 adult person per 10 feet of gutter and never pick a windy day.


awwww nuthin' cuter than kissing garbage cans lol
ReplyDelete