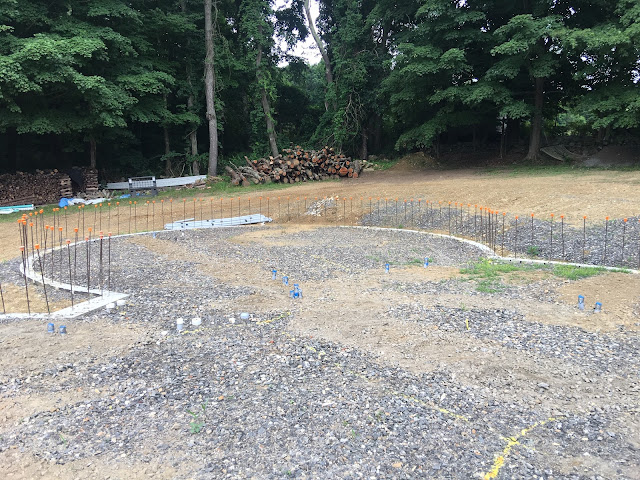
This past month has been a whirl wind of projects and now that the builders are here we get a tiny breather until they get to the point where they are doing the shell rebar. Then we have to go along behind them and set all the conduit and electrical boxes for every outlet, switch and light in the shell. For the next few weeks we will concentrate on a few other building related projects while the pro's take over. I am sure we will be busy trying to keep up with them once we get to that point.
First up on our list of projects to wrap up was the rough plumbing. It was sweaty work digging it all up but we got it done and filled in again. We did another pressure test and rough plumbing inspection. We passed and all is good! If you missed the post about the rough plumbing you can go back HERE and read it.
Second up was the 2 inch electrical conduit.
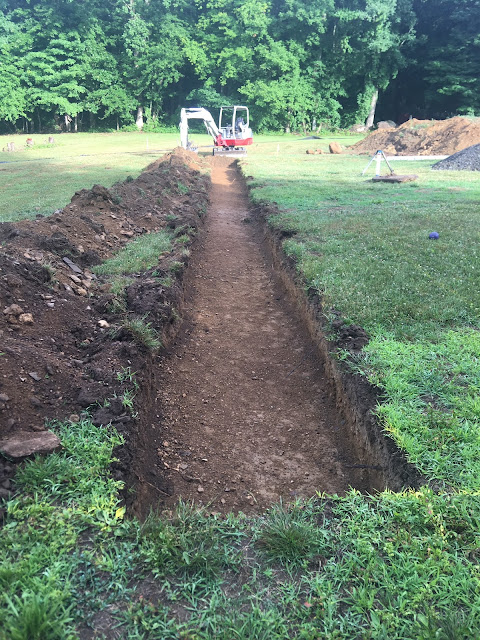
More hard sweaty work with the pick axe and shovel. This time we dug long 12 inch deep trenches all across the dome to feed power or propane to all the appliances. There are 2 dryers and 2 ovens as well as a last second decision to add a propane line to our patio. We figure if we have a big propane tank why not build in a grill area where we won't need to use the small tanks. We won't be installing the second oven for quite a number of years. In fact, we may never install it but since the house is cement it is super difficult to add it later should we decide to turn one wing into an apartment. The kids helped fill in the trenches when we were done but still are not convinced it is live action Mine Craft.
Third is just a bunch of projects all lumped together during a one week digging extravaganza where we rented another mini excavator and made swiss cheese out of our yard.
We dug the hole for the propane tank and the installers came and put it in and connected everything.
That was then inspected and we passed! So we were able to fill in one of our holes. It went from looking like a mini submarine to a buried garbage can!
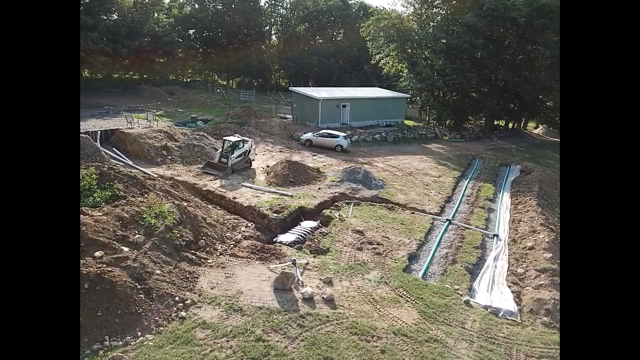
Next up was to dig up our drainage pipe that we put in last fall and extend it down the side of the driveway to get around where our leach field was staked. We had ended the pipe where the leach field was supposed to go. We thought the leach field was in a slightly different location when looking at the survey maps. After we sorted that out it was time to dig the septic tank hole.
It was 6ft down until we added our gravel at the bottom! Its weird to dig a hole that you need a ladder to get in and out of. We set the tank and wanted to wait for the sanitarian to check it before we filled it with water to weigh it down.
The tanks are known to float and get all out of wack if it rains too much. We thought we were good but then it rained overnight when they weren't predicting it. The tank floated and settled crooked so we had to pull it out, shovel out 3 inches of muck, re level it and set it again. The second time we filled it with water and crossed our fingers the sanitarian would give us the thumbs up. Next we had to dig the leach field trenches. They are 4 feet wide and 80 ft long. There was definitely a learning curve to being accurate enough but not spending too much time when it doesn't matter.
It took us way longer than an installer but instead of 20k (35k if we still had to use the special dirt) it cost less than 4k. I don't really want to do it again but I don't regret saving all that money! The sanitarian told us we only need to do 2 more to become licensed installers in CT. HA!
We passed our septic installation inspection and we were within an 800th of an inch. The installation plan is very specific about the depth and location of the field. SO WE DID IT! And the same afternoon of our final inspection there was a micro burst storm that dumped buckets of water on it.... and then the next day it dumped more buckets of water.
We had about 24 hours of stress.... is it ruined?
This time we knew there was the possibility of storms so we had weighed down the fabric really well and the silt washed right over the top and just pinned it down more. We dodged a bullet and were able to quickly backfill, grade and seed.
Now we just need the grass to grow before we have another one of those storms!
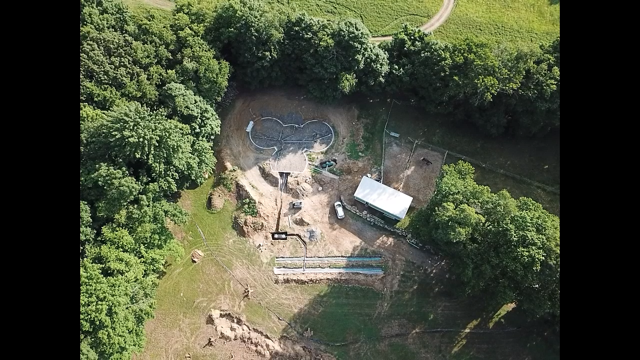
While we had the excavator we also removed the stumps from the line of trees we cut down and graded the area. I didn't take any final photos of it but Mr. Dometastic flew the drone and got some great shots of the giant mess we made all in one week. It was a productive mess and we are relieved to have it completed. Doing all these projects before the builders arrived means that our timeline has not been delayed just rearranged.
Stay tuned for more updates and things are about to get crazy in the next 6 weeks as the shell goes up by the pros!


Comments
Post a Comment